Works with Discord
YYCam Pro is a livestream-focused tool that supports multi-scene switching, video enhancement, and overlaying media assets. It can also output your composed feed to other apps via a Virtual Camera. This guide follows the official recommended workflow to help you connect YYCam Pro to Discord on a Windows PC for smooth streaming or on-call presentation.
1. Before You Start
Windows PC: Windows 10/11, ≥ 4 GB RAM, dual-core CPU or above
Software: Latest Windows version of YYCam Pro and the Discord desktop app
Devices: Available camera and microphone (built-in or USB)
Network: Stable connection; recommended upload bandwidth ≥ 8 Mbps
2. Step-by-Step Instructions
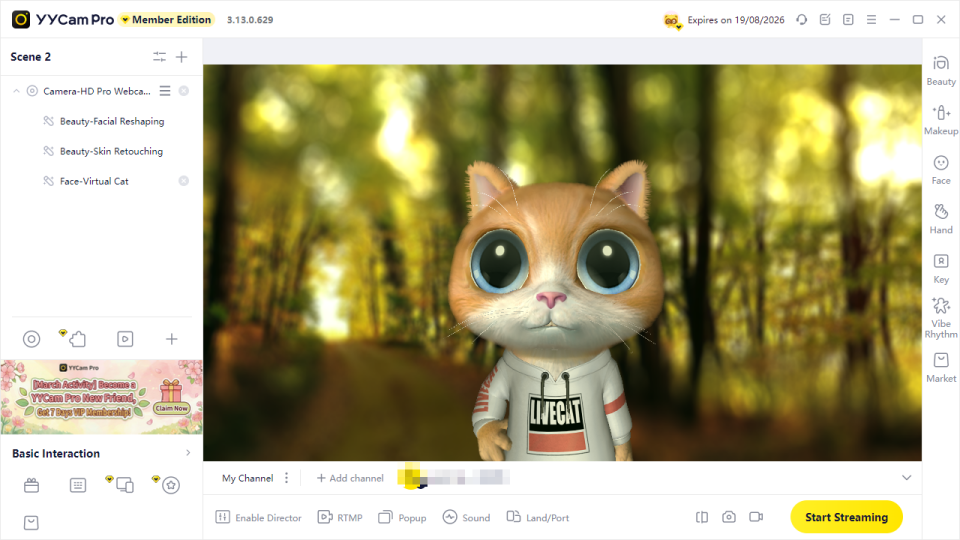
1) Configure Virtual Camera Output in YYCam Pro
- Open the YYCam Pro client.
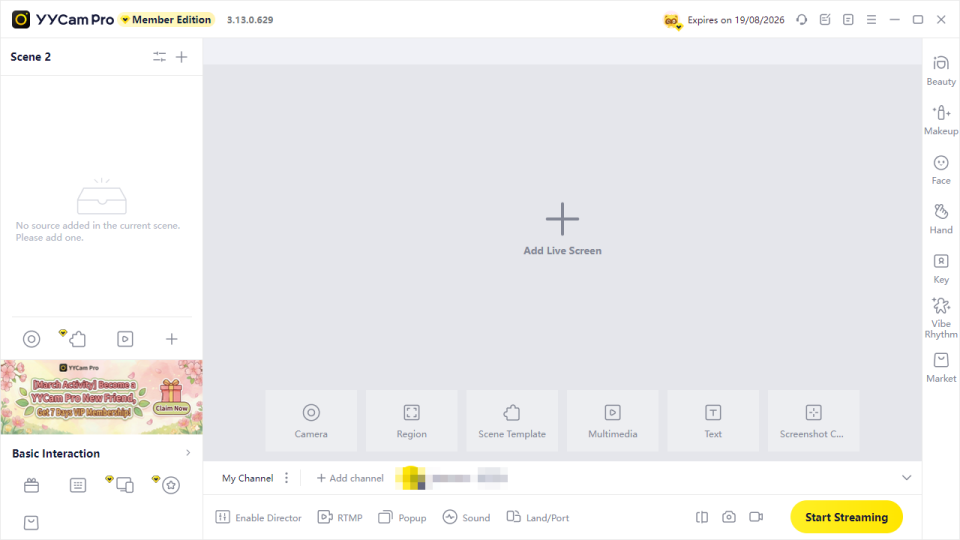
- In Device Selection, choose the camera you’re currently using and make sure the preview displays correctly.
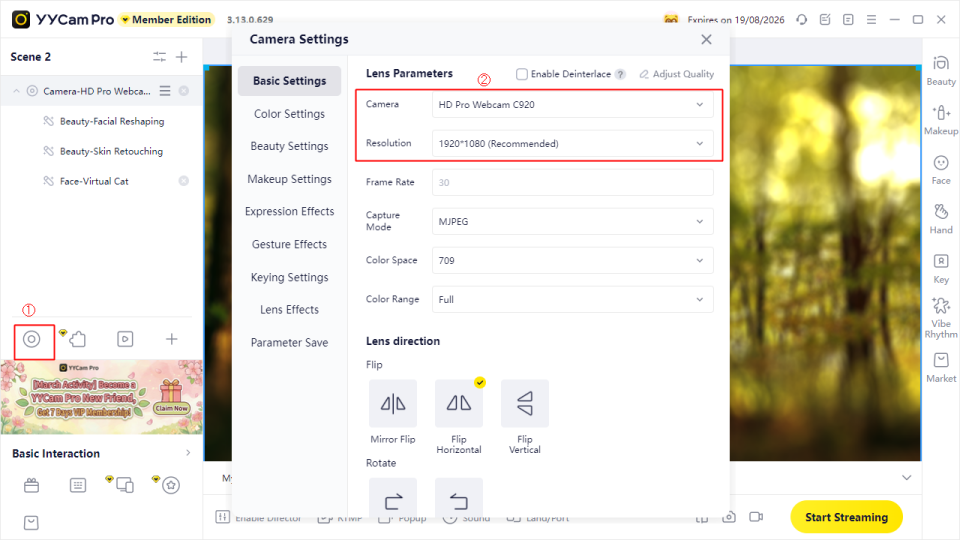
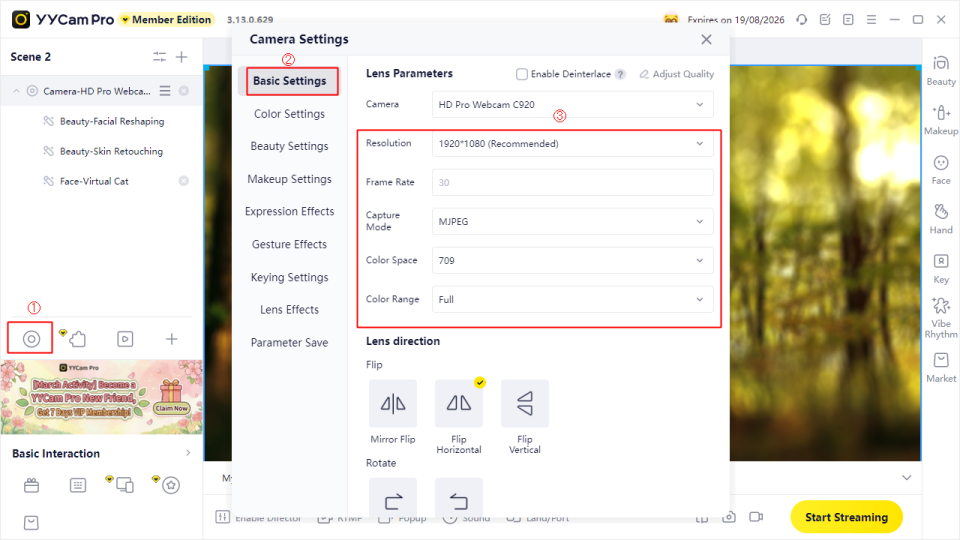
- Go to Basic Settings and adjust parameters as needed. Recommended settings: 1920×1080 resolution and 30 fps.
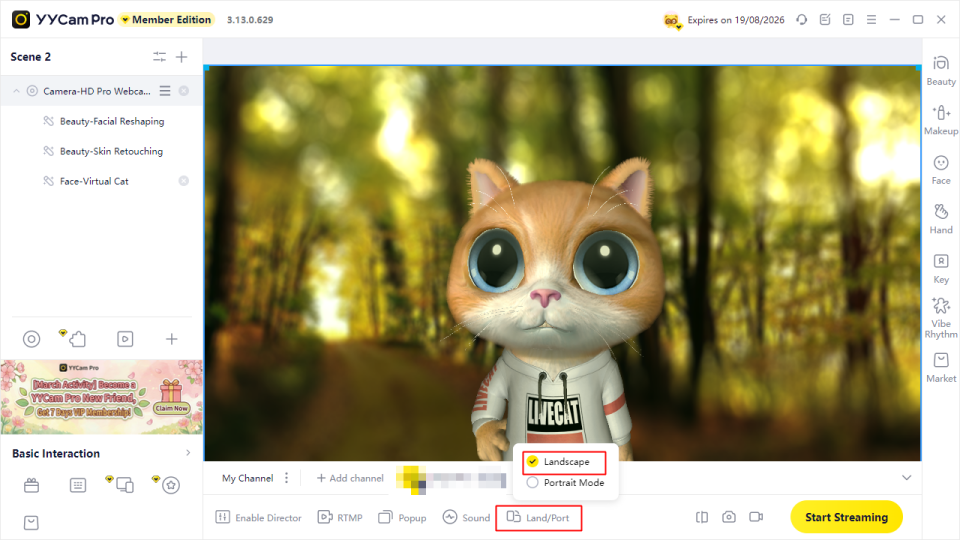
- Set Landscape/Portrait: Landscape is recommended.
Note: Please close Discord before changing this setting—otherwise the landscape/portrait option may not appear in YYCam Pro. If the option still doesn’t show after closing Discord, restart YYCam Pro and try again.
2) Bring the YYCam Pro Feed into Discord (Two Methods)
Method 1: Turn on “Video” in a Voice Channel / DM (Recommended)
Best for: On-call presentations, meeting-style streaming, and camera-focused content.
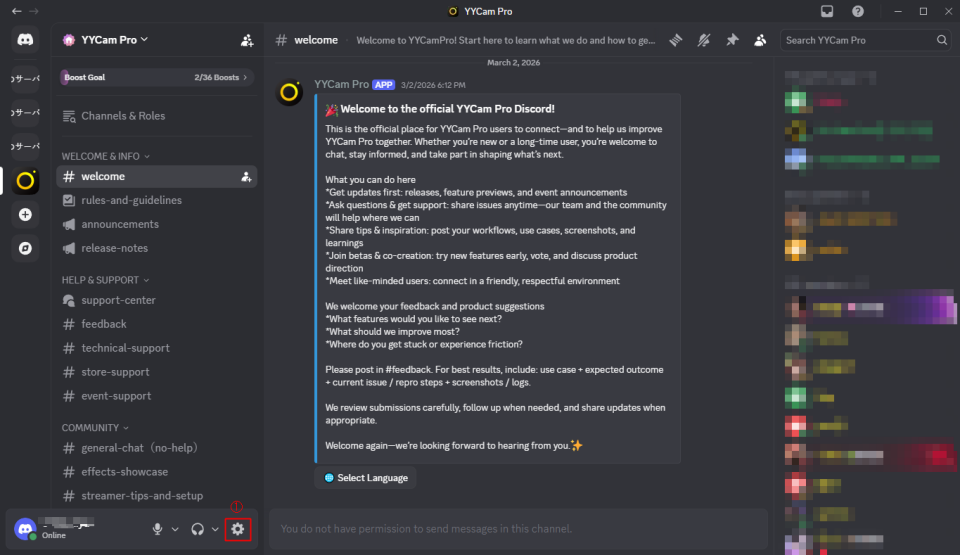
- Log in to Discord desktop and go to User Settings > Voice & Video > Video.
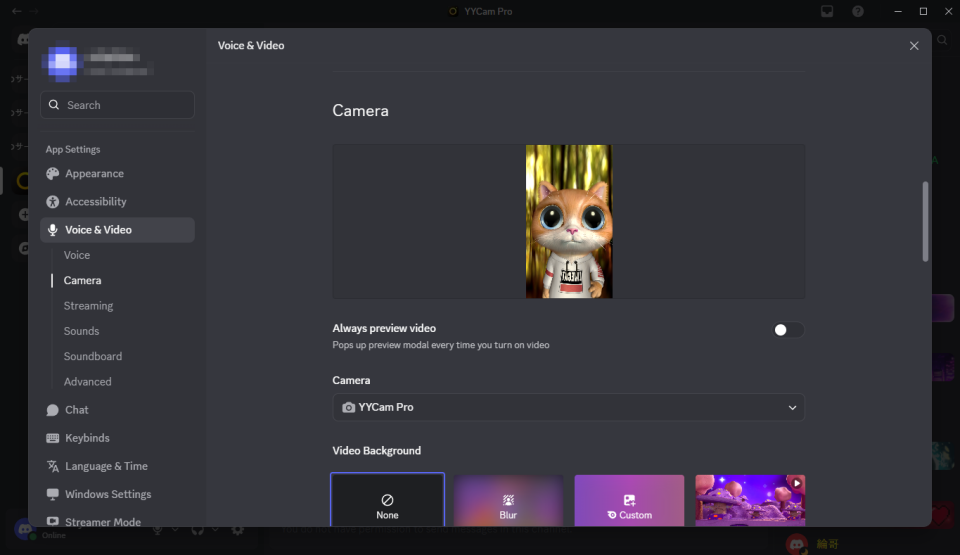
- Under Camera, select “YYCam Pro”.
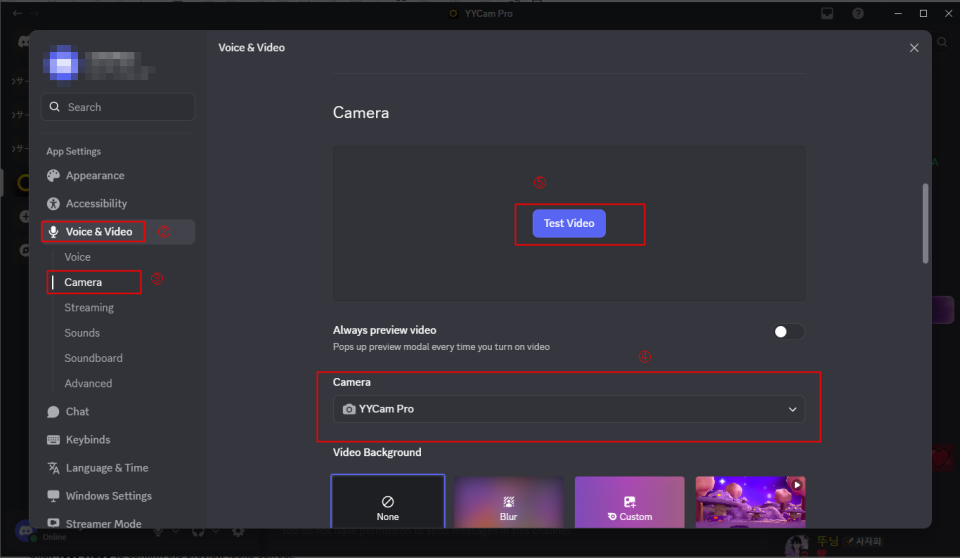
- Click Test Video to confirm the preview looks correct.
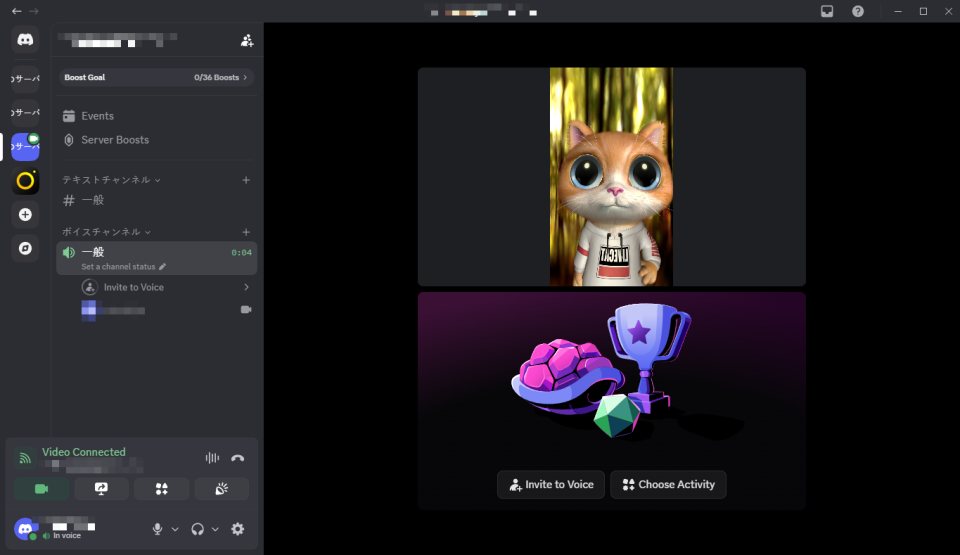
- Join any voice channel, click the Turn On Camera icon at the bottom, and start streaming YYCam Pro’s video to Discord.
Method 2: Live Stream via “Screen Share”
Best for: Presenting slides (PPT), software demos, gameplay, or desktop operations.
- Launch YYCam Pro and set an appropriate resolution and frame rate to keep the feed stable.
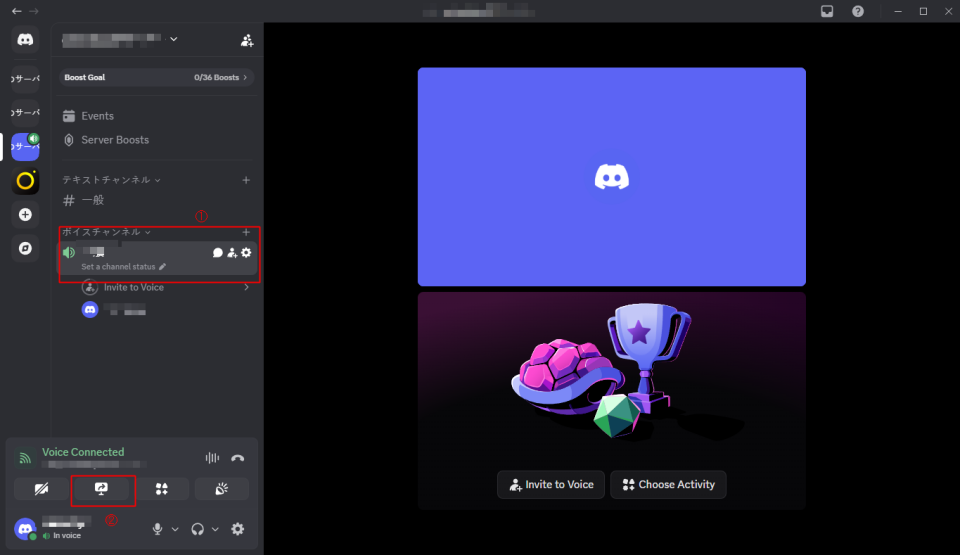
- Open Discord and enter the target Voice Channel.
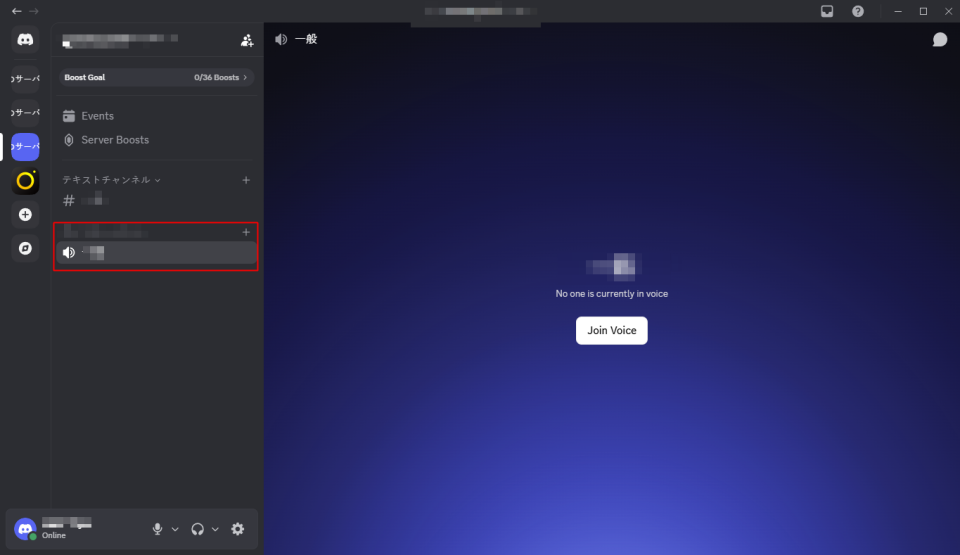
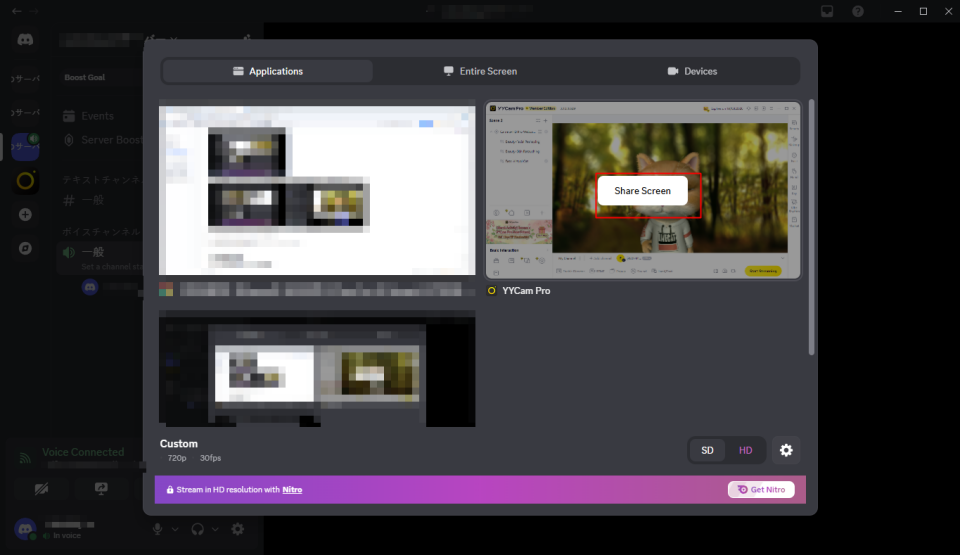
- Click Share Your Screen.
- To avoid exposing personal information, it’s recommended to choose Application Window first, then select the YYCam Pro window to share.
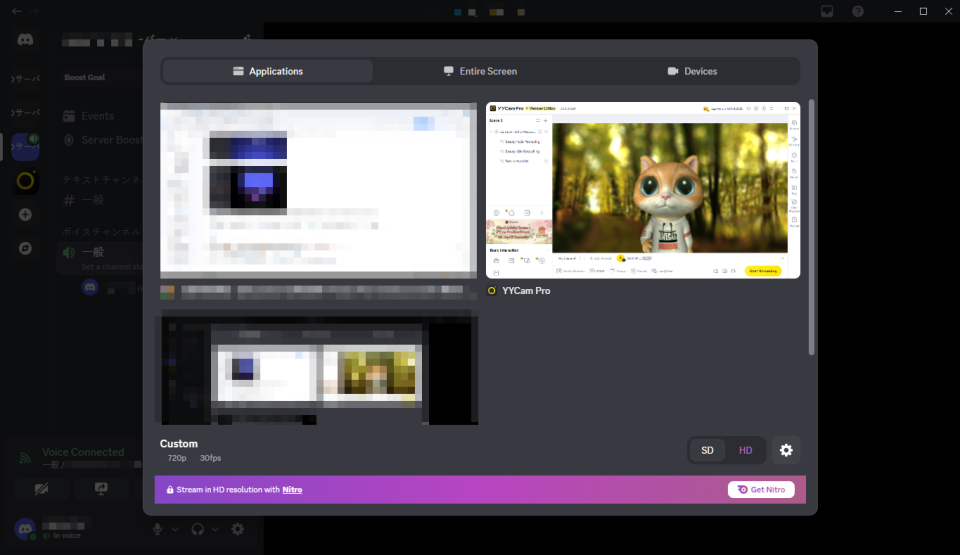
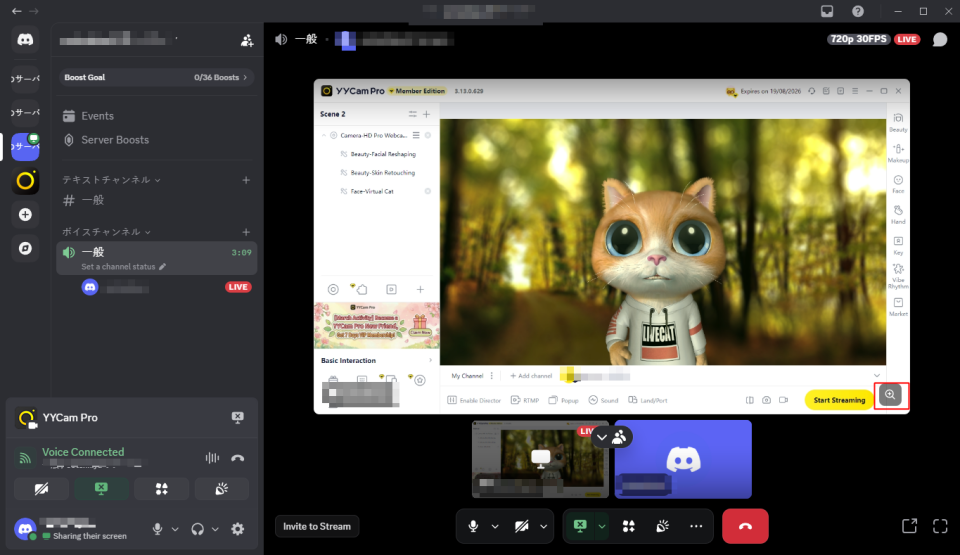
- Click Share Screen to start streaming. You can zoom in from the bottom-right to adjust what’s shown, so only the YYCam Pro content appears.
Tip: If you want both the YYCam Pro virtual camera and desktop content in the same session, a common setup is:Turn on Video in Discord (using the YYCam Pro virtual camera), andShare your screen/window at the same time (to show presentation content).Viewers can choose between the camera video and the screen share, depending on Discord’s display behavior.
3. FAQs & Troubleshooting
1) YYCam Pro camera doesn’t appear in Discord
Try the following in order:
- Restart the apps: open YYCam Pro first, then launch Discord.
- Make sure no other apps are using the camera (e.g., Teams, Zoom, OBS).
- In Windows, go to Settings → Privacy & security → Camera, and allow desktop apps to access the camera.
- Restart your PC and try again.
2) The stream is laggy or has high latency
- Lower output resolution/frame rate, and reduce filters/overlays.
- Use a wired network when possible to avoid Wi‑Fi fluctuations.
- Stop bandwidth-heavy tasks like downloads or cloud drive syncing.
3) No sound or echo occurs
- Confirm the correct microphone is selected in both YYCam Pro and Discord.
- Check whether you accidentally muted audio in Discord voice/stream settings.
- In Discord settings, try toggling Echo Cancellation and Noise Suppression to achieve a more stable audio result.
4. Conclusion
By following the steps above, you can now successfully live stream on Discord using YYCam Pro. With YYCam Pro’s powerful and stable video processing capabilities, you can easily launch professional-quality streams on Discord. We’re committed to continuous innovation to keep every stream clear and smooth—so you can stay focused on creating and sharing great content.